The 300 DPI Rule: Why Your Digital Designs Look Blurry in Print
Understand why 300 DPI is essential for print quality, how resolution affects your images, and what causes digital designs to look blurry when printed.
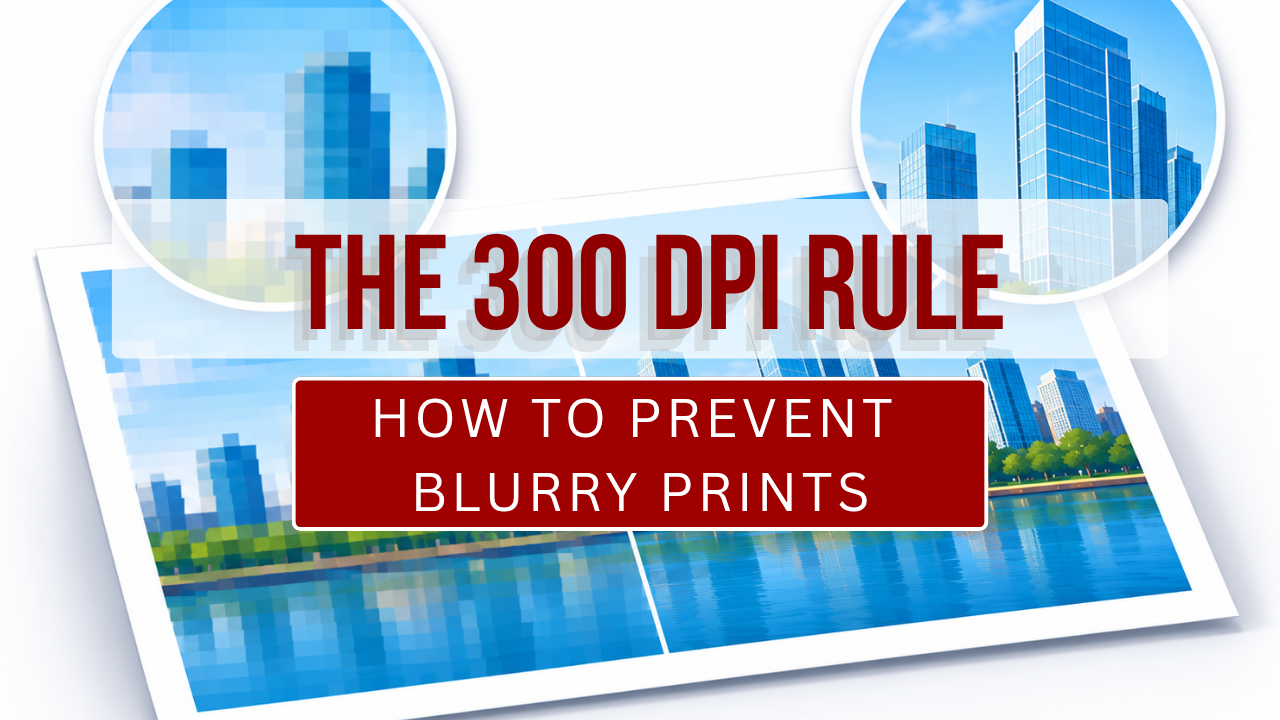
Why do some marketing material designs look sharp on screen, but fail to hold up once they’ve gone to print?
How to Fix a Blurry Print
The most common cause of blurry print images is a low DPI (Dots Per Inch). The term refers to the number of tiny ink dots contained in a single linear inch of the final printed image. The more dots that inch contains, the sharper the final image will be. But things can get more complicated if you want to size that image up for printing.
Why Designs Look Sharp on Screen but Blurry in Print
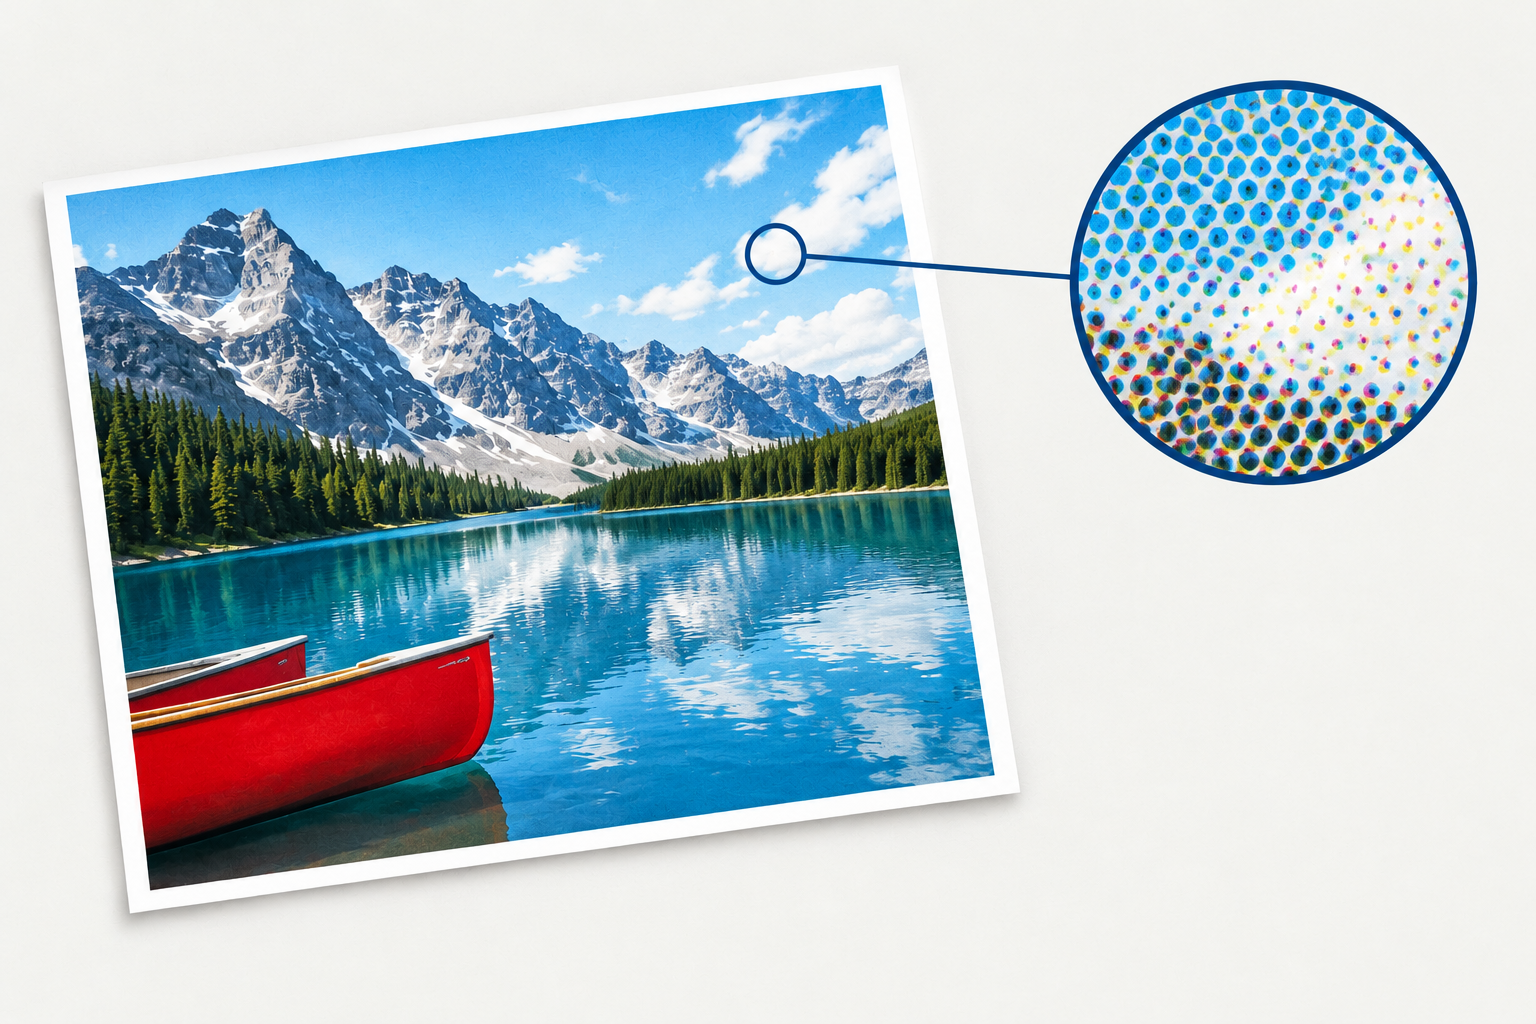
DPI is just one of several metrics that are used to measure the resolution of an image. PPI (Pixels Per Inch) is the default metric for measuring resolution on a digital screen. Instead of referring to the number of ink dots packed into a linear inch, PPI measures the number of consecutive pixels contained within a linear inch. Some design software will tie PPI and DPI together, ensuring a 1-to-1 relationship is maintained between the two metrics. But even then, they are distinct measurements, with DPI controlling the physical print results while PPI controls the appearance on-screen.
What’s the Significance of 300 DPI?
A DPI of 300 is generally considered the minimum resolution needed to ensure a crisp, clear print result. However, some printers and print projects may require a DPI that’s even higher than that. As a general rule of thumb, the larger the image you want to print, the higher the DPI that’s required.
How Enlarging an Image Lowers its Effective Resolution
So, if the DPI controls how good an image looks when it’s printed, does that mean you can make any image look great at any size simply by increasing the DPI number in the metadata? Unfortunately, no.
If you only increase the DPI of a digital image, then its total dimensions will actually shrink, condensing more of the existing dots down into a smaller space. Conversely, if you simply change the total dimensions of the piece, the DPI will decrease as the total number of ink dots are spread out across a larger area.
The Most Common Image Quality Mistakes in Print Marketing Materials
The best way to ensure your print marketing materials have a high enough DPI is to start with high quality imagery in the first place. This means photos taken with the highest megapixel camera at your disposal, and files that are created with an adequate DPI and your desired dimensions right from the get go. Trying to take a file that’s too small and/or has too low of a DPI and enlarge it rarely works out well.
Types of content that are very likely to fail if they’re sent to print include:
- Screenshots
- Low-resolution logos
- Enlarged & cropped product photography
- Over-compressed files
Follow the 300 DPI Rule for Professional Print Materials
For a more comprehensive rundown of our print file formatting recommendations, check out our post How to Prepare Your Files for Commercial Printing. And if you have any specific questions you’d like an expert’s input on, please don’t hesitate to get in touch. At Wallace Carlson, we’re proud to provide Michelin star-quality service to all of our print clients, and that includes you.
Conclusion
Work that stands out across time and industries
Looking for more insights on print marketing and design? Check out the latest blogs from Wallace Carlson for expert tips, industry trends, and strategies to elevate your brand.